A 70–200mm telephoto lens is awkward to pack because its length can dictate the shape of the whole camera compartment. If it is placed after smaller lenses and accessories, the remaining gaps may be poorly positioned or too loose to keep the lens stable. The practical question is not simply where the lens fits, but how the dividers should be arranged around its length, diameter, and removal path.
For this setup, I would treat the telephoto lens as the fixed reference point. Everything else should be positioned around it according to access frequency. That turns a loose collection of padded sections into a deliberate working layout.
Give the 70–200mm Lens Its Own Long Compartment
Start by placing the 70–200mm lens in the main storage area before installing the shorter divider sections. Its long barrel creates the primary boundary for the rest of the layout.
A camera bag with dividers works well here when the long divider runs parallel to the lens rather than cutting across it unnecessarily. The resulting compartment should be slightly larger than the stored lens, leaving enough room for padding without allowing excessive movement.
Check the lens hood as well. If the hood is reversed for storage, its wider end may determine the actual compartment width. Designing the cell around only the narrow barrel can make removal frustrating.
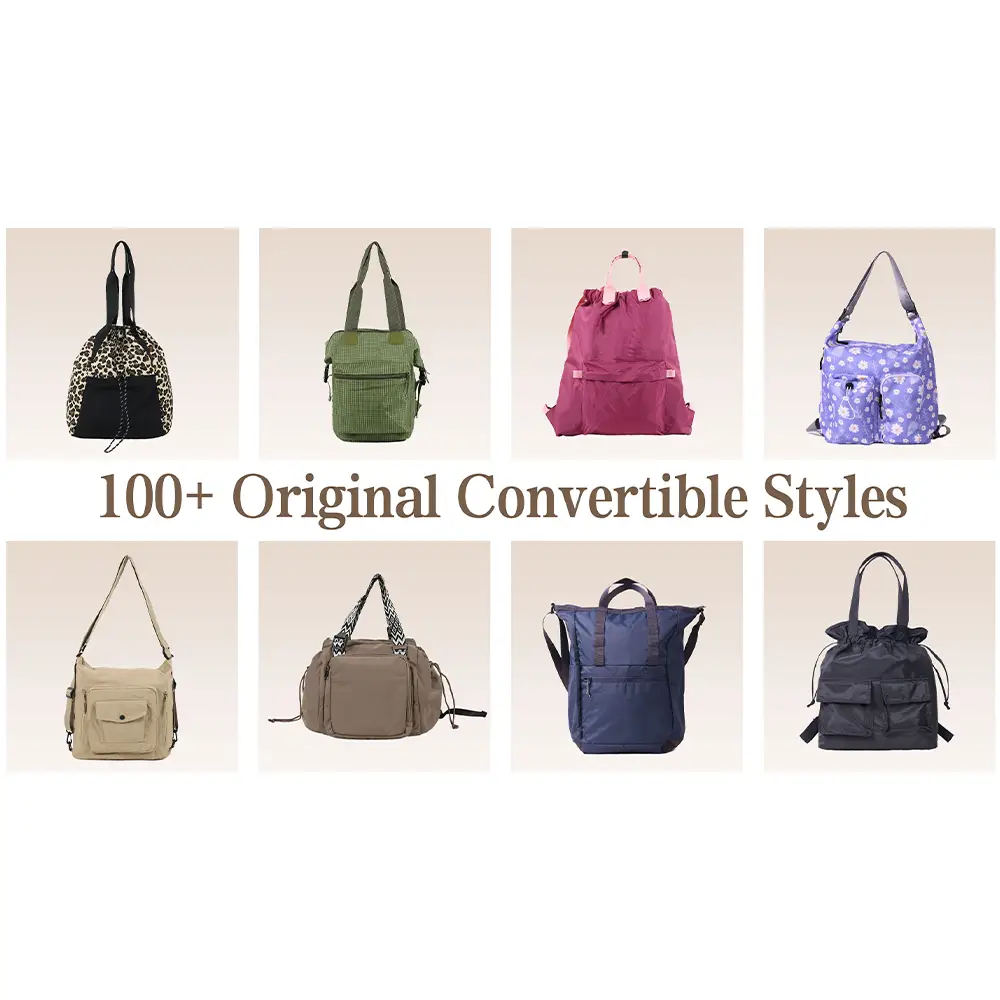
Our Functional Transform Series bag measures 31.5 × 12.5 × 32 cm and uses a multi-pocket design intended to organize camera equipment and accessories.
Use Short Dividers to Stop the Lens From Sharing Space
Once the telephoto lens has a dedicated lane, use shorter dividers to define the remaining equipment zones. Their main purpose is to prevent adjacent equipment from contacting the lens during movement.
Place a camera body in a neighboring compartment if it is not mounted on the 70–200mm. A second lens can occupy the next cell, provided its diameter does not force the divider against the telephoto lens.
Avoid creating a maze of narrow sections. Each divider reduces usable width, so too many pieces can make a compartment technically organized but practically difficult to use. Leave the clearest route around the telephoto lens for taking it out with one hand.
A Photography Gear Bag should also account for the accessories that accompany a long lens. Lens caps, filters, batteries, and memory cards are better kept in smaller pockets where they cannot slide into the main lens compartment.
Put the Most Frequently Changed Item Beside the Telephoto Lens
The best neighboring compartment depends on the shoot. If the 70–200mm is the primary lens, place the camera body immediately beside it.
If the telephoto lens is a secondary option, the body and everyday zoom should take the easiest-access position, while the 70–200mm remains protected in its dedicated lane.
Think about the sequence of an actual lens change. The hand should be able to reach the camera body, remove the current lens, and access the telephoto lens without first moving batteries, straps, or small accessories.
This sequence also reveals whether a camera bag with dividers has been arranged effectively. Good divider placement should reduce handling steps, not merely separate objects.
Leave the Empty Space Where Your Hand Needs It
A common packing mistake is filling every gap because empty space appears wasteful. Around a long lens, some clearance is useful. It gives the lens room to be lifted out without catching on neighboring dividers or accessories.
Keep flexible items away from the lens mount and control rings. The Functional Transform Series design is described as adjustable according to user needs, which is relevant to this kind of equipment-specific packing. A modular internal arrangement can be changed when the photographer switches between a telephoto-heavy kit and a lighter everyday setup.
For ChangRong, this is where bag organization becomes a design question rather than a simple storage question. A useful internal structure should let the photographer reconfigure the space instead of locking every item into one permanent position.
Test the Layout With the Bag Closed
Before taking the setup outdoors, close the main compartment. Check that the closure does not press directly against the lens or force a divider inward.
Lift the bag and open it again. The 70–200mm should remain in its assigned lane rather than shifting into the space of another lens. If equipment has moved, tighten the divider arrangement or remove an unnecessary gap.
Next, perform one simulated lens change. Reach for the camera body, move to the telephoto lens, and return both pieces to their compartments. If the movement requires lifting another item first, the layout is not finished.
Design Around Real-World Camera Handling
A Photography Gear Bag becomes much easier to live with when its internal arrangement reflects the photographer’s actual sequence of use. The goal is not maximum compartment count; it is predictable access with minimal disturbance.
To achieve this level of organization, we at ChangRong tie pocket placement and internal framing directly to real-world handling. For long-lens setups, we build our divider systems around the bulkiest piece of gear before fine-tuning everything to match how the photographer actually shoots.